Designing the biped
Character Proportions
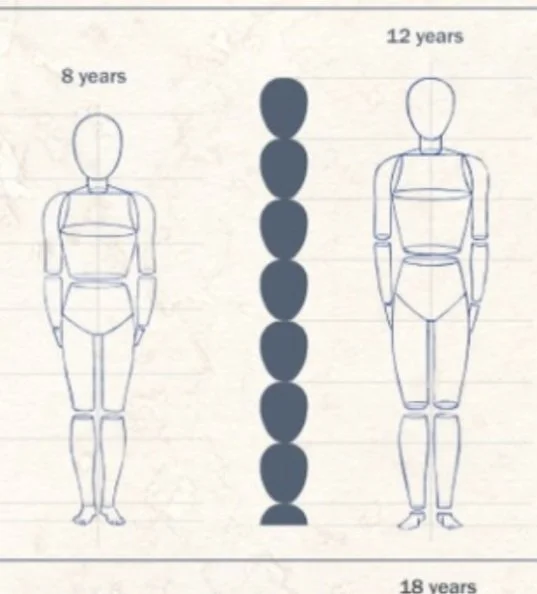
Image planes

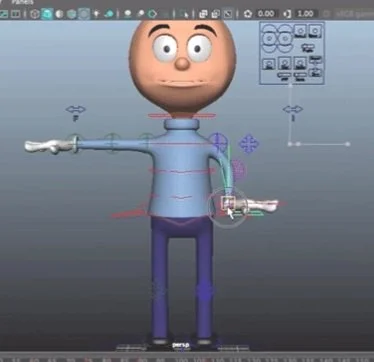
Modeling a Biped
Roughing out the Biped

modeling a humanoid model
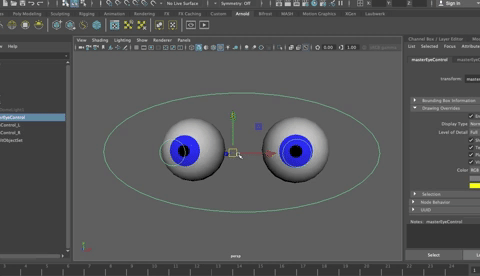
Making Eyes 2 Ways Plus controls
Joining Objects
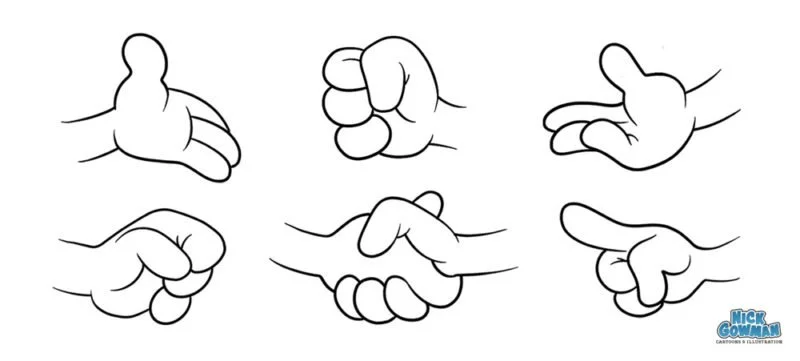
https://www.nickgowman.com/how-to-draw-cartoon-hands/
Quad Draw (for face details)

Shape Editor/Blend Shapes

Texturing a Biped
Rigging and Skinning
Rigging Tutorials

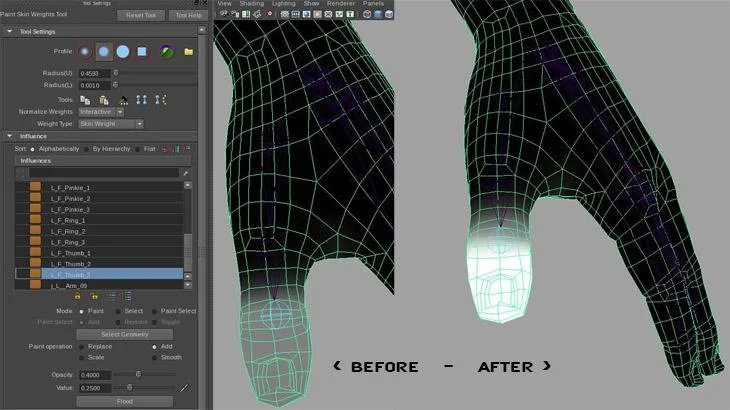
Skinning
Advanced Skeleton
Here is a video on how to use Advanced Skeleton to create a rig that is cartoony (with stretchy limbs, for example)
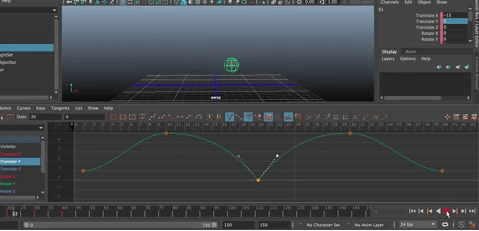
Animating
Animation Tutorial
Rendering the Animation
Pipeline for the biped
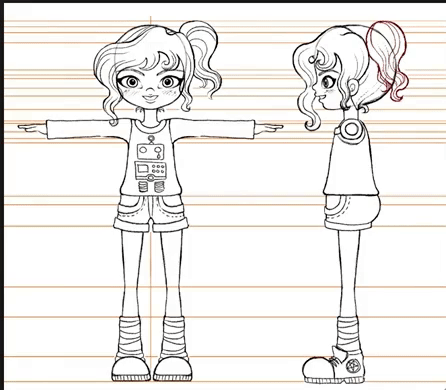
Design character on paper
Create Image Planes and Load into Front and Side Cameras
Rough Out the Model
Refine biped (making sure biped is facing towards +Z and is centered on the Y axis, with feet resting on the X Axis (the entire character should be in the +y quadrants)
Delete History and Freeze Transformations
UV unwrapping as needed
Duplicate the Character
Smooth Duplicate character to make high-poly version
Substance Painter For Materials for at least one surface (with texture caching of low and high poly versions)
aiStandard Surface for others
Blend Shapes w/Shape Editor
Rig using one of these methods:
Parenting
Quick Rig
Quick Rig plus some extra skeleton systems for hands, tail, ears, etc
HumanIK (more customizable) but you need to bind the skin separately
(Rokoko Studio)
Custom Rig following a tutorial (Lorie has some to suggest)
Skinning as needed
Animate
Render Image Sequence
Use iMovie, Premiere, Quicktime, Photoshop or other editing software to convert to a movie file - add sound and titles as you’d like.