Tutorial - Image Planes
CS22/122 Loeb
Image planes give you a reference while modeling. I recommend using them as you build your biped. You will want at least two orthogonal images. One from the front, with your character in a T-pose, arms out, hands pointing downward. The second is from the side, same pose, same scale. You can just leave an opening where the arms go in the side orthographic view as the arms get in the way of modeling from that view.
Create a Project for the Biped Project
Be sure to set the scale the way you want it. Generally, for the biped, I work with the default settings for the grid
- (Windows>Settings and Preferences>Preferences) Go to Settings and be sure you are on centimeters for unit
- In the Main Menu, go to Display > Grid > Options Box
- Edit>Reset Settings
- You can still have your colors for the Grid Axes set to blue or a color that is easy to see.
You can work with a scale where 1 cm = 1 m in the real world.
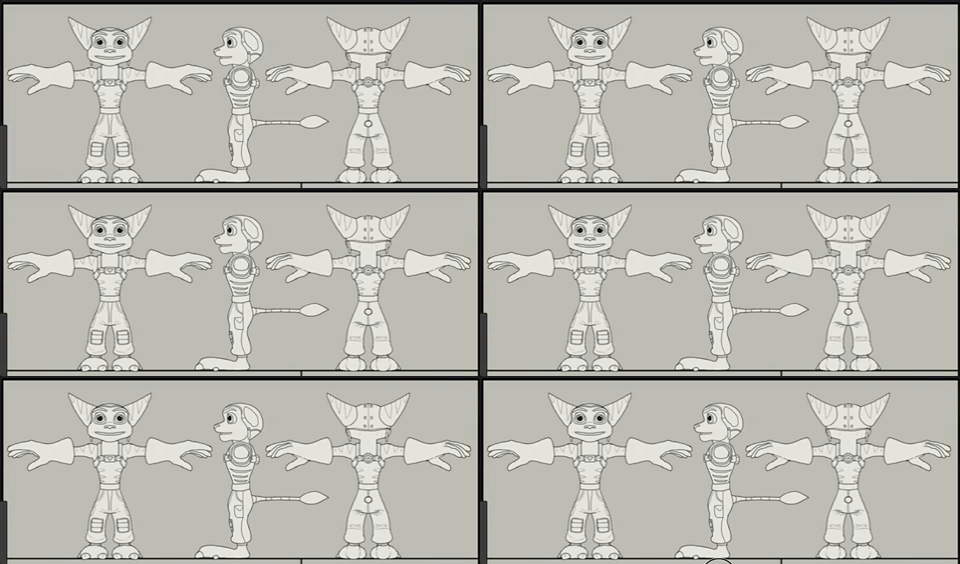 (Character by Insomniac Games)
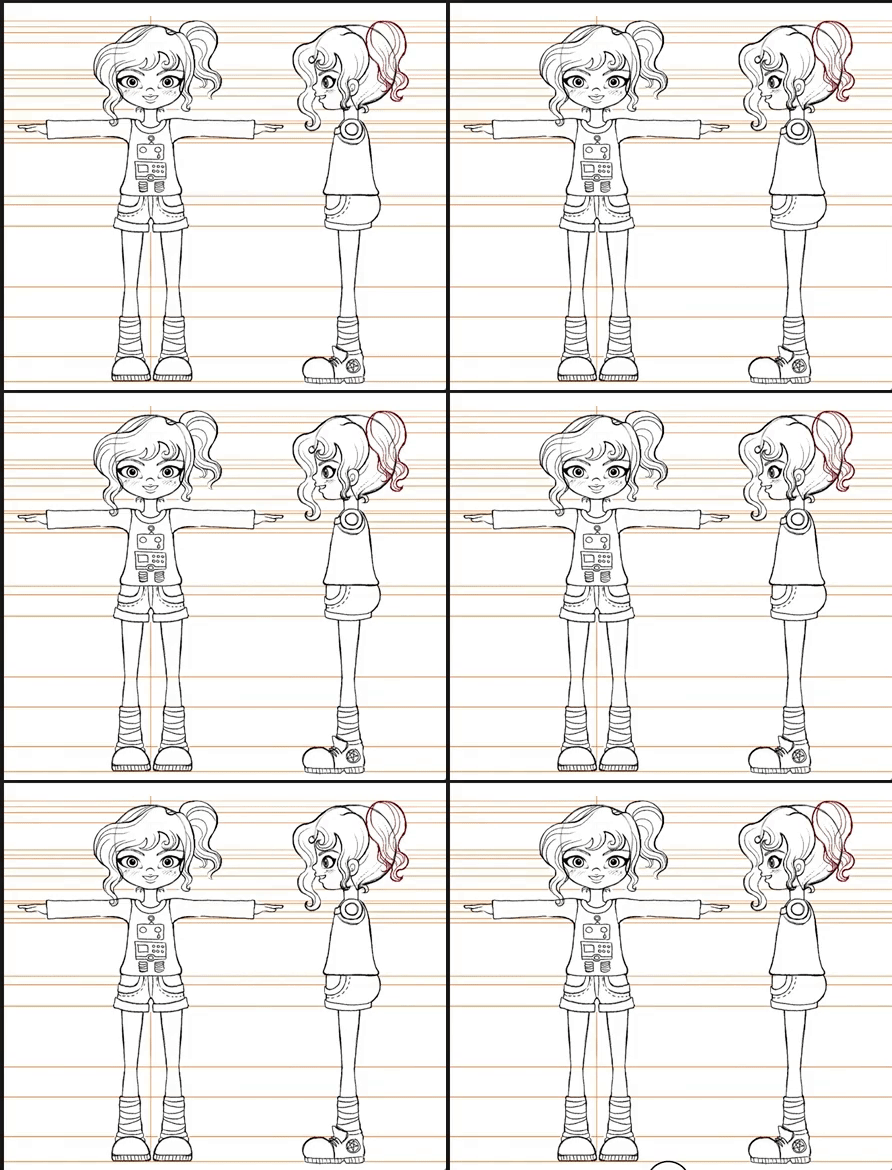 (https://icam381.wordpress.com/2013/05/29/aoeis-progress-2-model-sheet-colour-texture/)
Start a new project and a new scene (if you haven't already) for your biped. Scan each image plane separately (one from front, one from side), save them as Lorie_side.jpg and Lorie_front.jpg and place them in the source images folder for your biped project. (Good to use your name or the name of your character when naming your files)
You can open them in Photoshop as separate layers (one front and one side) and use the Photoshop guides to line them up (View>New Guides - set to horizontal and start creating guides to line up key features).
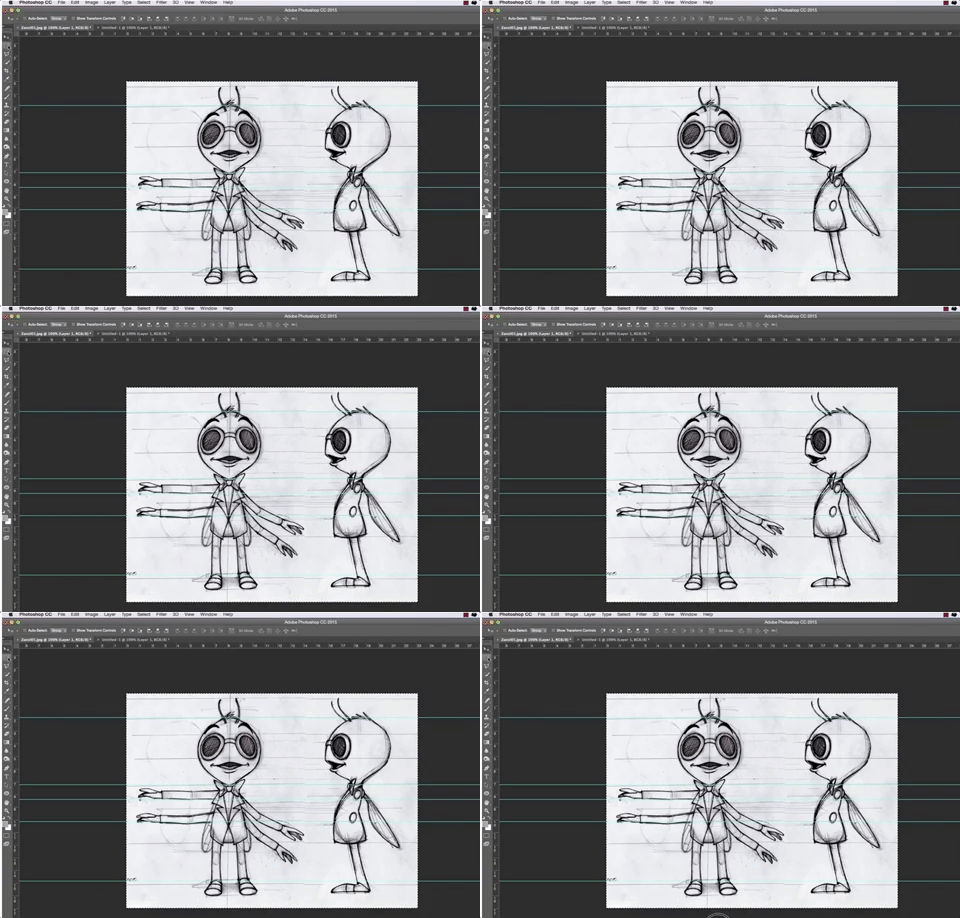 http://create3dcharacters.com/
If you are working in Photoshop or some other image editing software, changing the background to gray and having the lines for the characgter details be a nice clear black, will make your life easiest.
Then save each image layer (one for front and one for side) as a jpg, being sure to label them correctly.
Move them into the Source Images Folder for your biped project.
You can create a subfolder in Source Images called "reference images" if you'd like. It is good to keep your files clean and well-labeled.
In the Front Camera View Port, go to View>Image Plane>Import
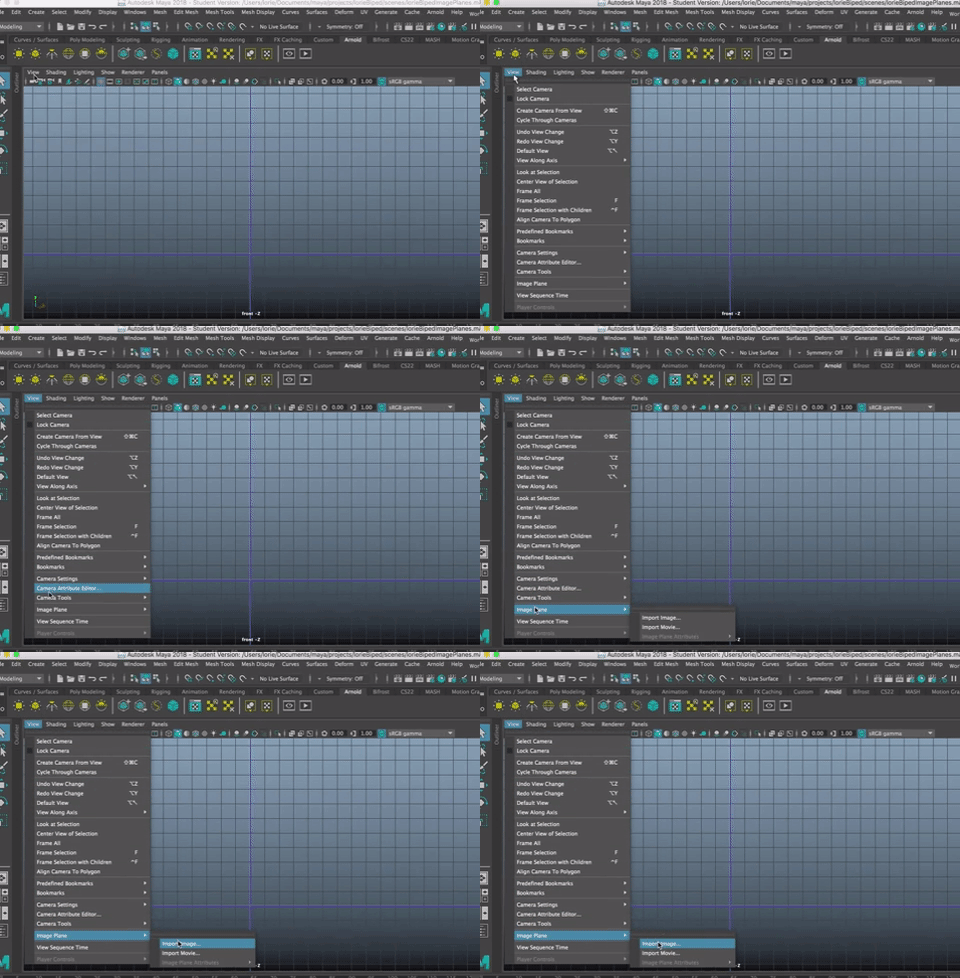
and choose your front image. Move it up so the feet of the character is on the X Axis
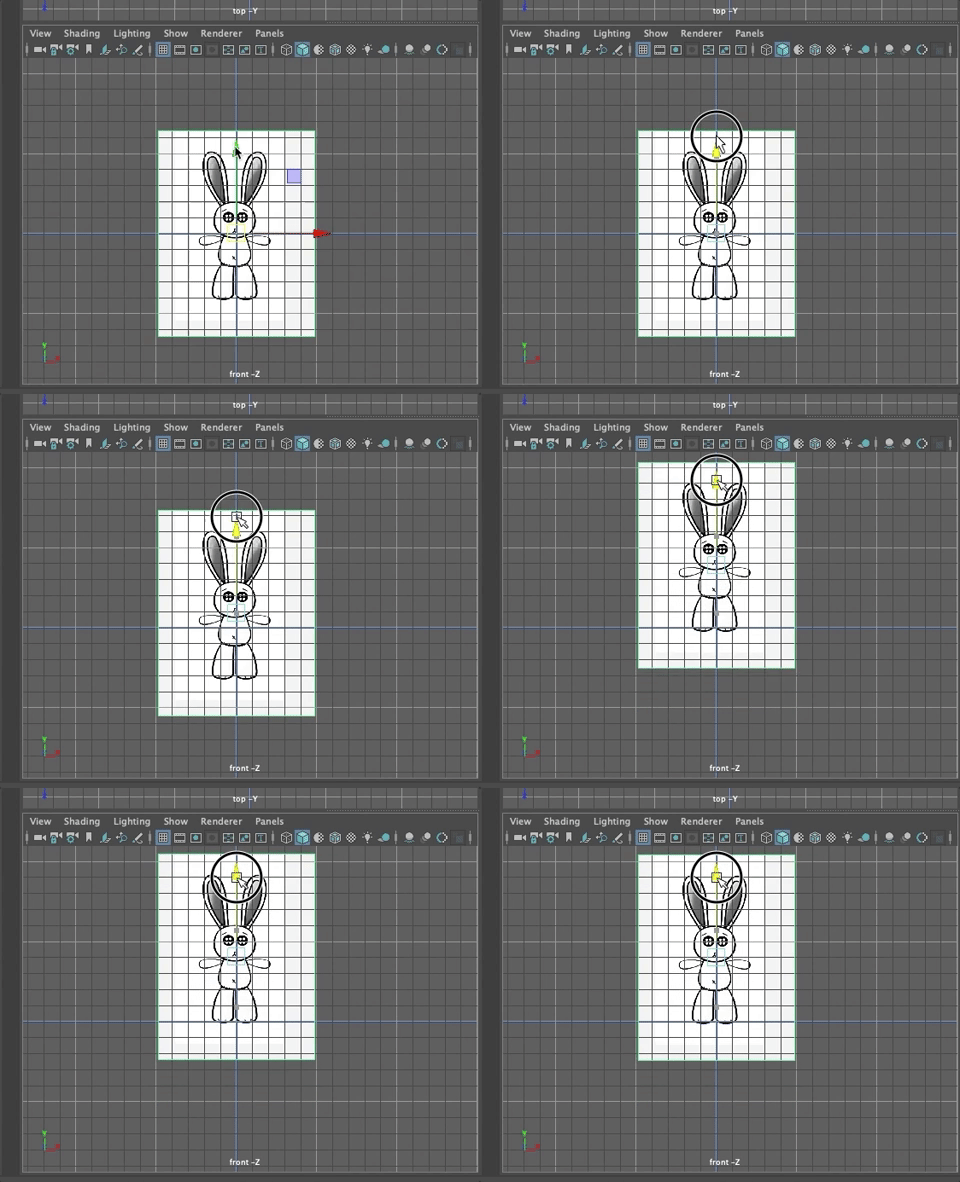
In the Side View Camera import the side image and line it up.
You can use the Move Tool to line the two images so they are sitting on the x-axis and centered perfectly on the y-axis.
In the persp window, you can line them up with each other
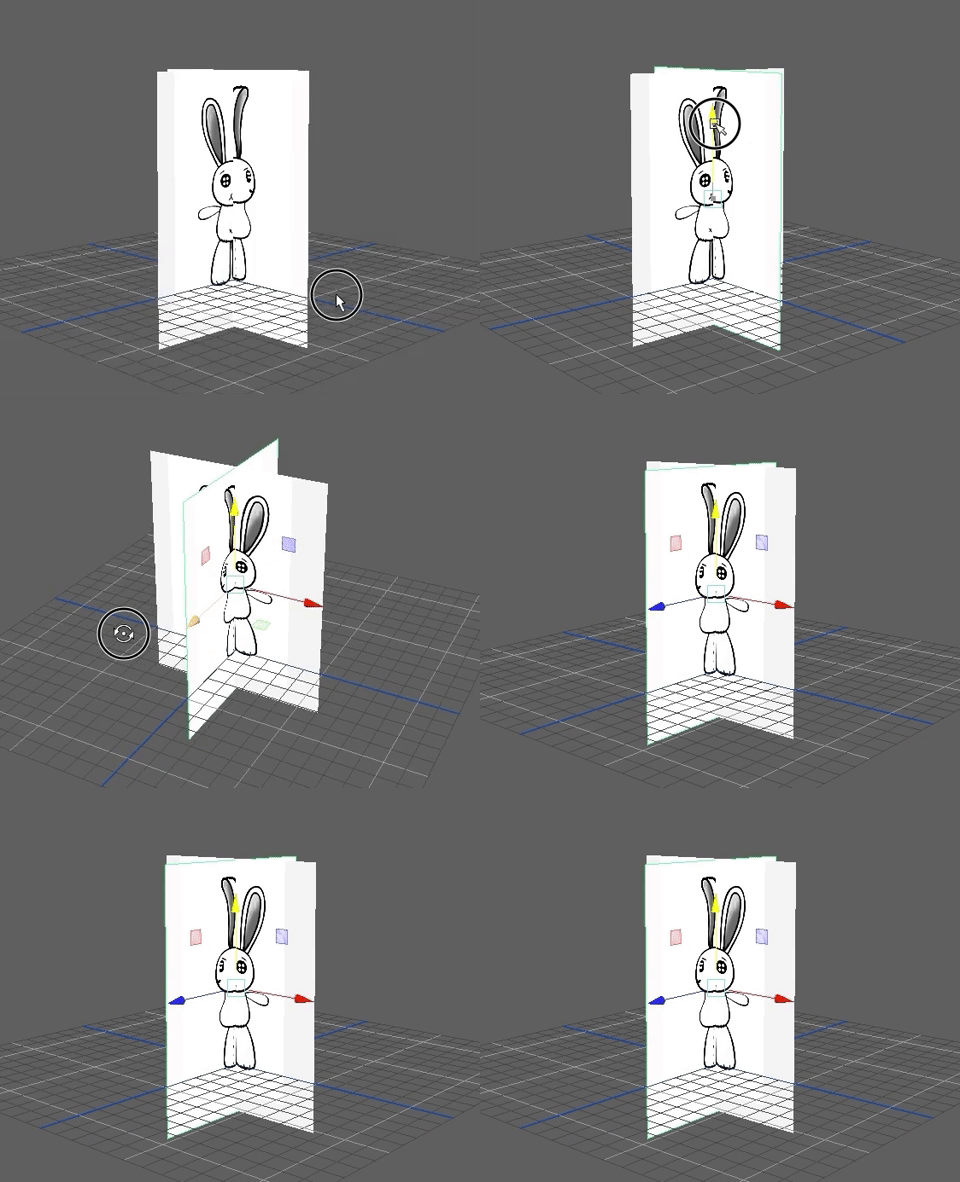
I find it easier to work with Image planes when I only see them in the orthographic views and not in the Perspective View. To do this:
In the Orthographic View (front) select the Image Plane Go into the Attribute Editor for the ImageShape node Under Image Plane Attributes Change Display from "In All Views" to "Looking Through Camera"
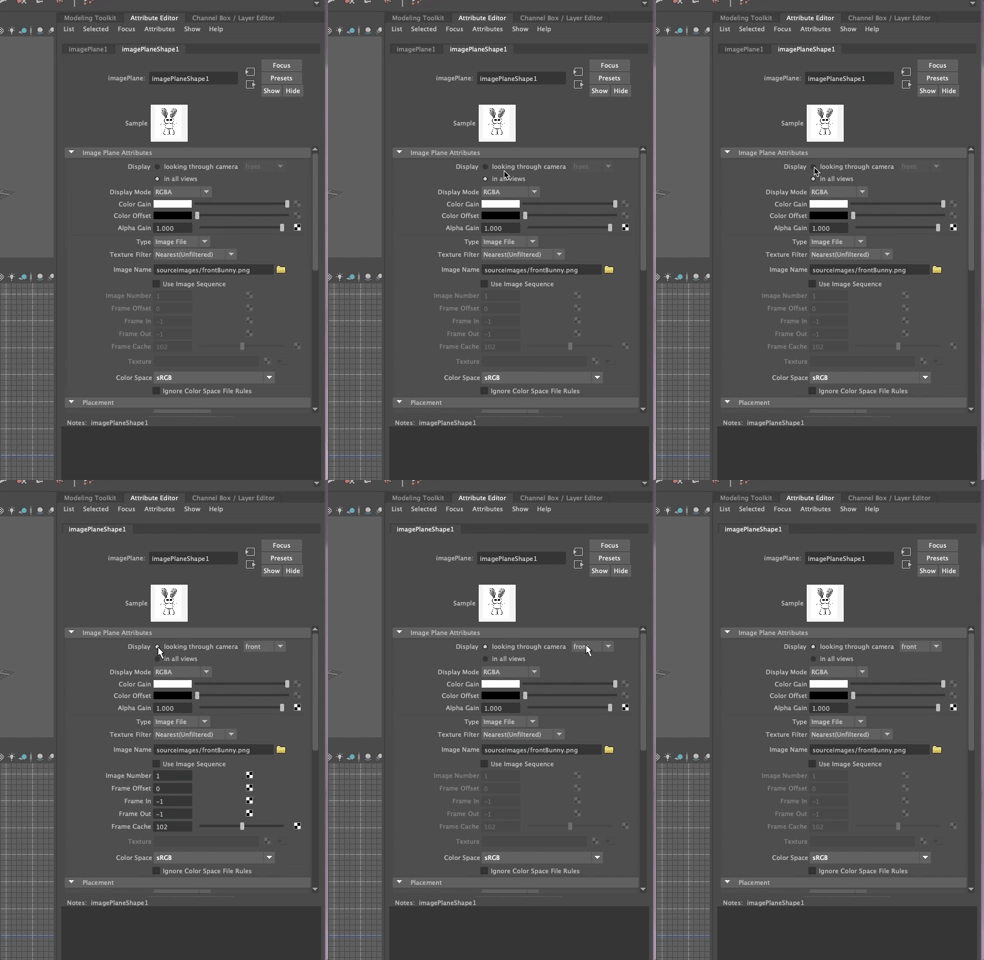
Do the same for the Image Plane in the Side View (and any other views you have).
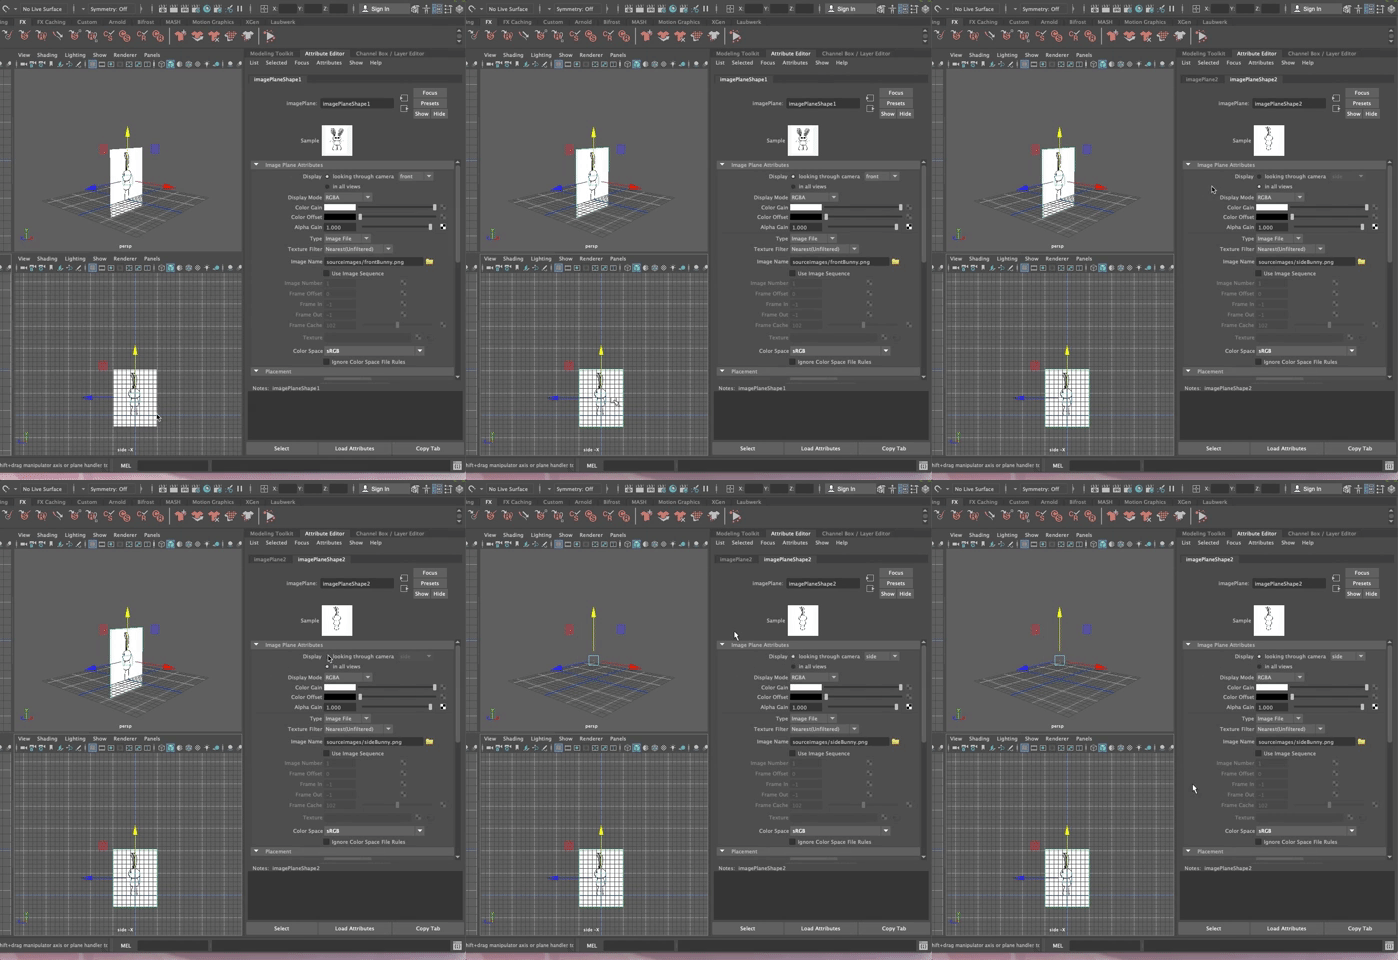
You will notice that the IMage Planes no longer show in the Perspective View
After you have the image planes lined up in the perspective view, you can move them back so they are out of the way. OR, what I like to do
Make sure you set the overall scale of your character. Remember, your units are at centimeters and, by default, your grid is set to one gridline every centimeter.
If your grid is still set up for your room--You probably want to change the settings to something more appropriate for a much smaller biped.
Now put the image planes into a Layer so that you can Reference them to avoid selecting them in the Orthographic View. Label the Layer as ImagePlanes.
Now you are ready to start modeling!