CS22/122 Loeb
Practice 2: A whole bunch of useful stuff about modeling tools, selecting, and duplicating
Some of this is review from work we did in class, some may be new. Either way, go through this practice before the next class.
Selecting Objects
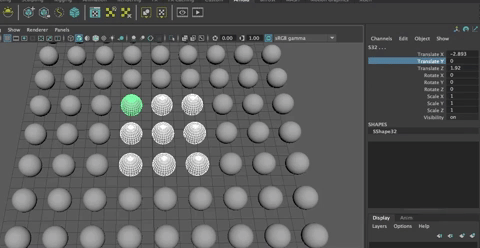
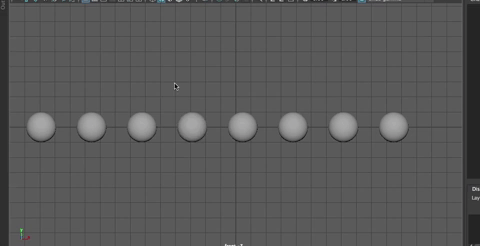
We've already discussed selection but here is a bit more on that. Open the Practice_selection scene we made in class or create a new one by creating a sphere and using Shift + d to make a grid of spheres as shown: 
Basic Selection
- q brings up the select tool
- LMB click on an object to select it
- Marquee select to select one or more objects/components.
- Lasso select allows you to draw a line around a set of objects/components you want to select
Adding and subtracting from selection sets
- Hitting shift + LMB click/marquee drag allows you to add or subract from a selection set. It is a toggle. If the object is selected, it deselects it. If it is deselected, it selects it.

- To only ADD to a selection hit CTRL + shift + LMB click/marquee drag

- To deselect only hit CTRL + LMB click/marquee drag

- The selection brush allows you to paint a selection set when working in component mode only. Choosing this option, shifts you into vertex mode, but it works on any component mode. (note: hitting b and dragging changes the size of the selection brush)

You can also increase the selection set by hitting shift + > or decrease the selection set using shift + <

Paint selecting and using TAB to select
Another great way to select faces is to paint on a selection. This can be done in 2 ways:
- Use paint select tool (hold and drag on the "b" key to change the size of the brush for selecting)

- Use the TAB key to paint on a selection

- Hit CTRL + TAB to paint deslect

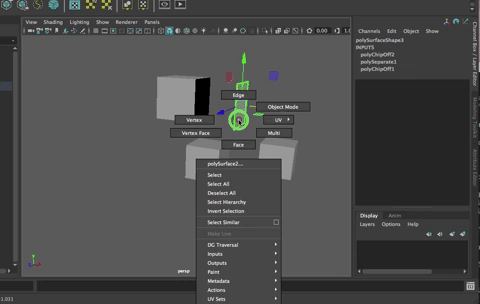
Changing between components to select
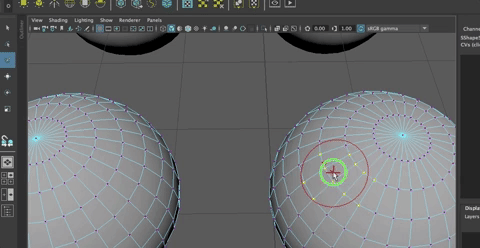
You can use Command RMB click (CTRL RMB click on a PC) to change between selection types, and even better, you can select perimeter edges on complex shapes.
Try it
- In Face mode, use tab to create a selection set as shown

- Hit Command RMB and you will see an option to change to edges. From here you can choose perimeter edges to select all the edges along the perimeter of the faces. Cool!

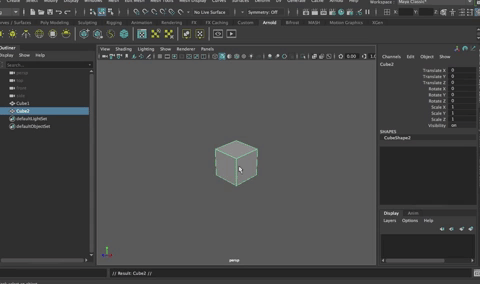
Figuring out what you selected
- When an object is selected it is either white or green.
- **White means it is part of a selection set
- Green means it is the last object selected *** In the Channel Box, The selected object shows.
- If more than one object is selected, the last selected object shows first, followed by the others.
- The Objects Drop Down list shows all selections
- Clicking an object on the list makes it the last object selected in that selection set
- The order of selection matters in some functions, such as parenting.
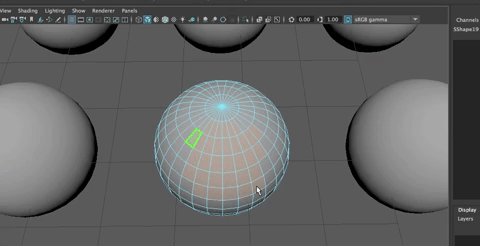
- Selected components turn orange/yellow. Last selected component is green.
- Selected components show in the channel box in the same way as objects. Multiple selected components are in the Objects Menu drop down list.
- COMMAND + 1 shows only the selected objects/components in the viewport.
- COMMAND + 1 is a toggle. Use it once, to isolate select, use it again to show all.
Inverting a selection
Sometimes you want to select everything EXCEPT a smaller selection set. You can use invert selection for this.
Try it:
- Select some faces
- Hit Command + Shift + i
- This selects the inverse of what you selected before.

Selecting in Orthographic Views
- Marquee selecting in Orthographic views allows you to select objects that are placed behind other objects easily.
Duplicating
Duplicating and Instancing are powerful tools in modeling. Let's start with duplicating.
There are three kinds of duplicating with some variations within those: Duplicating, Duplicating with Transform, Duplicate Special.
Duplicate
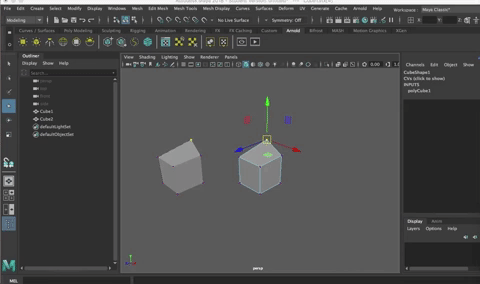
- To duplicate an object, select it and hit CTRL + d or Edit > Duplicate

- If you've done your work and renamed the object, duplicating it creates a numbered set of objects.

- It is a BAD idea to use copy and paste in Maya as it limits the power of duplication, makes a mess of your outliner, creating groups of pasted objects with the same number as the object you duplicated. DON'T DO IT.
- You can duplicate sets of objects, too

Note: By default, when you duplicate an object, the INPUT node is not duplicated. This means that there is no history on taht object and you cannot change any of the input settings on that duplicated object.
Duplicate with Transform
A great tool to know about is Duplicate with Transform (Shift + d).
- You can start but using Shift + d to duplicate and then move an object, or use the regular duplication and then switch to duplicate with tranform.
- If you duplicate and object and then transform it (scale, rotate, move), then hit shift + d it will continue that transformation with the duplication.
- This gets powerful as you add transforms to it beyond a simple move
One fun one to try is this:
- Create a torus.
- Change the section radius to a small number such as .2
- Scale it so it is more like the chain on a chain link fence.
- Duplicate (ctrl + d) and move it over
- Rotate 90 degrees in x
- Hit Shift + d to duplicate with transform

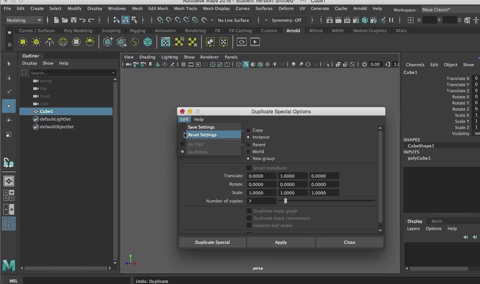
Duplicate Special
There are lots of options within Duplicate Special's options box. We'll cover a few more later in this practice, but the power is that you can be very precise.
- The main thing is that you can enter the transforms numerically.

- For example, you could translate up 1 in Y adn make 20 copies

- If you select Group Under > New Group, the duplicated objects end up in a group, which can save you a step later on.

Try this:
- Undo to where you just have one cube
- Go to vertex mode and select all the verts on the cube
- Move the selected verts over.
- Go back to Object mode
- You will notice that the pivot point for that object is still at the origin.

Open the Duplicate Special Options Box
BE SURE to RESET the settings
- Rotate in Y by 15 degrees
- Increase the number of copies
- Hit apply
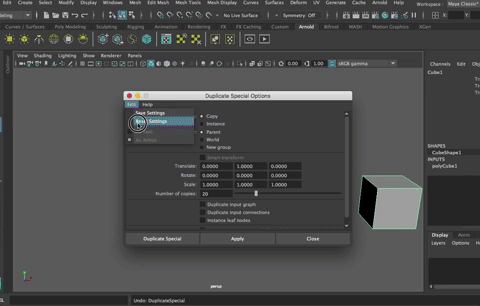
- You can add other transforms.
- Play around a bit.
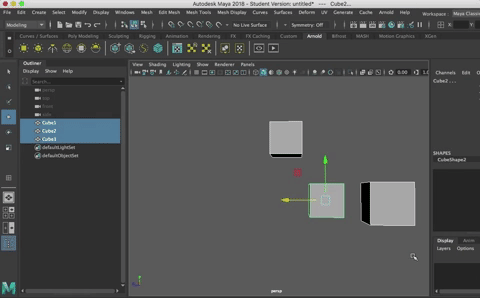
Instancing
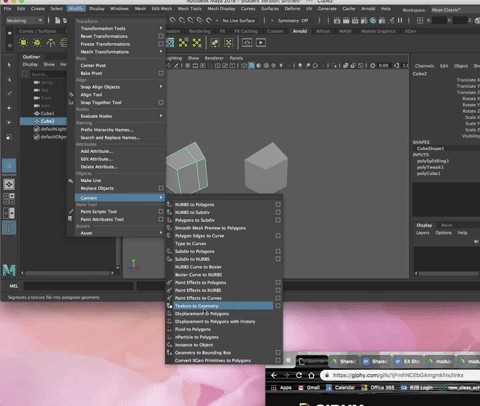
When you duplicate an object, they are separate objects. Instancing keeps a relationship between the two.
Duplicating:
Instancing:
This keeps a link between the two objects. Whatever we do to one object, it happens to all instanced objects.
The easiest way to break that link is to go to to Modify> Convert > Instance to Object
Here is a cool trick with Instancing:
- Translate a cube to around 2 in X
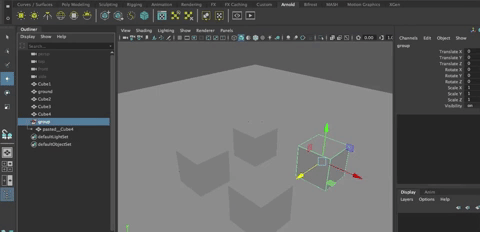
- Group it (Command + g) to create a pivot point at the origin (groups are null nodes with no geometry but a pivot point that is at the origin by default)

- Now use Instancing to duplicate group1

- With group2 selected, scale -1 in X to move the instanced cube over.
- Now you have a special and handy kind of mirroring that is applied to two objects.
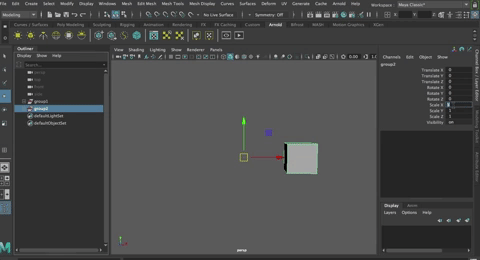
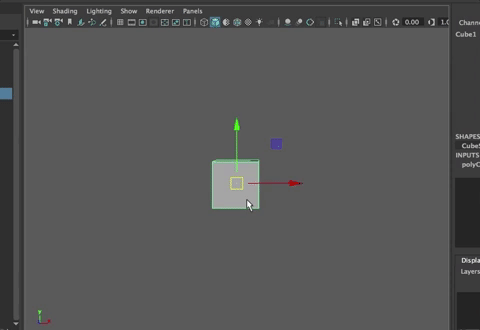
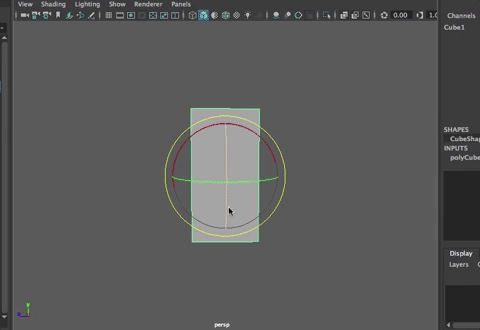
Pivots
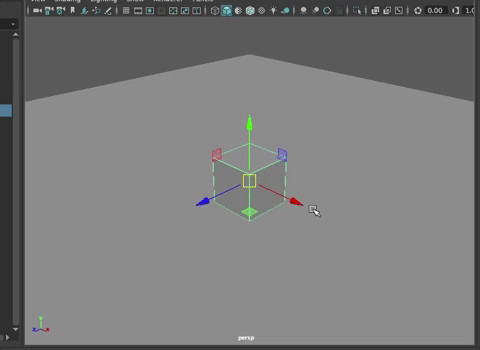
We talked some about pivot points. Here is a bit more. Every object has a pivot point, which is the center of that object, around which all transforms happen.
To move a pivot point on an object, select it and hold down the "d" key
Releasing the "d" key sets the pivot at that spot.
This can be handy. Make a door that rotates at a hinge as you would expect....
Pivot Points in Groups
In the exercise for instancing, I told you that creating a group creates a node without any new geometry but with a pivot point.
The pivot is, by default, at the origin (0,0,0).
You can group an object to itself to create multiple pivot points for the same object. The door could have a pivot at the side and at the top, for example.
Center Pivot
In the Modify Menu, one of the commands you will use a lot is Center Pivot.
When you extract a face, for example, this can be super helpful.
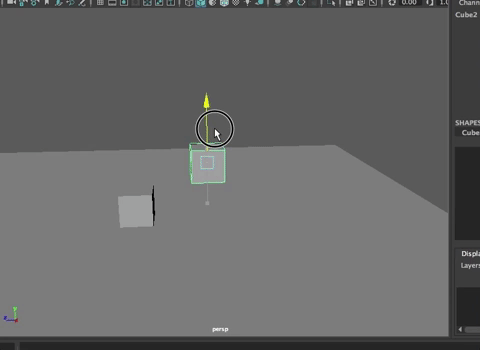
Select a face and Shift Right click. Choose Extract Faces
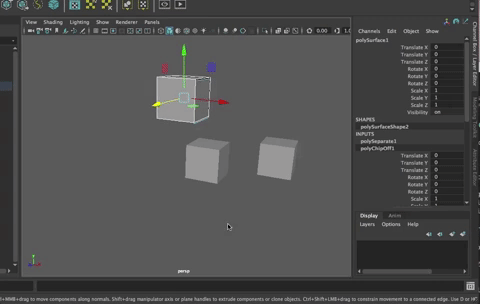
Move the extracted face over.
Go to object mode. The pivot on the new poly object you created from the extracted face is at the center of the original polygon cube.
Center the pivot to fix this.
Make a Hotkey for Center Pivot
Make a new keyboard Shortcut that is CTRL + c for Modify>Center Pivot. You will need to override the current keyboard shortcut for CTRL + c, but that is ok, we don't use that one much and you can always use COMMAND + c instead.