cs22 Loeb
A few tips and tricks for using Photoshop to create a texture map
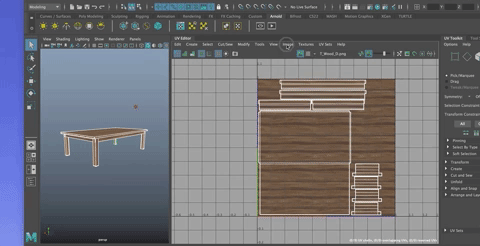
Let's say you want your table legs to be a different kind of wood, or you want to alter the wood to create a stain or flow in the wood texture. Once you have your UV's laid out there is a method for doing that.
- Start by Selecting all your UV Shells (be sure they are in the 0-1 quadrant.
- Make sure you are in the correct project!
- In the UV Editor, go to Image>UV Snapshot
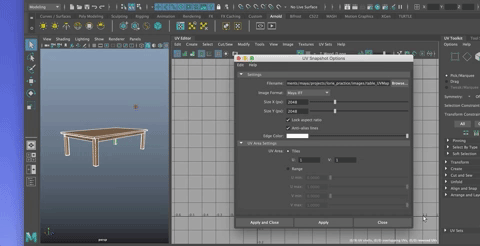
- This opens up an options box.
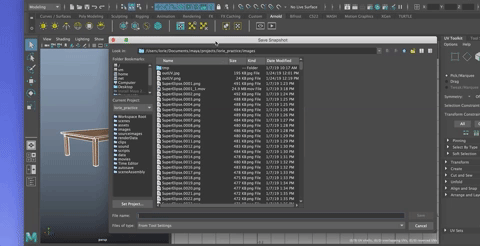
- Under Filename, click on Browse.
- This opens a window.
IMPORTANT: If you are going to render in smoothed mode (3) it is a good idea to smooth now so that the uv's are smoothed and the textures will line up.
- You will notice that the file will be saved into the Images folder (not the Source Images) for the project you are in.
- Type in a Filename that is easy to understand. In this case something like table_UVMap would work.
Choose PNG for teh Image Format (PNG files preserve transparency, which we want)
Next you choose the file size. Textures are square so they will tile properly. Options are generally: 128 X 128, 256 X 256, 512 X 512, 1024 X 1024, 2048 X 2048, 4096 X 4096. These are the common sizes. Change one number in the Size X or Size Y and the other changes with it to keep the file square.
Let's use the default of 2048, but 1024 is totally fine and much lighter, If you know the texture file you are using is bigger or smaller, you can adjust the UV snapshot size, too. The size, by the way, refers to the number of pixels per inch.
Uncheck Anti-alias lines
Hit Apply and Close
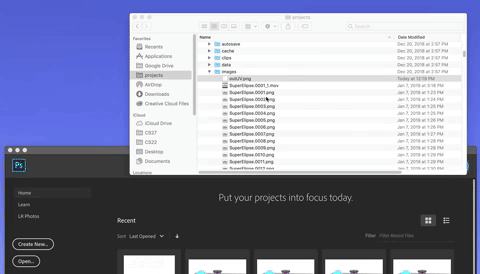
Open Photoshop
- Find your UVMap in the Finder (in your Images folder)
- Right click on it and choose Photoshop for the application
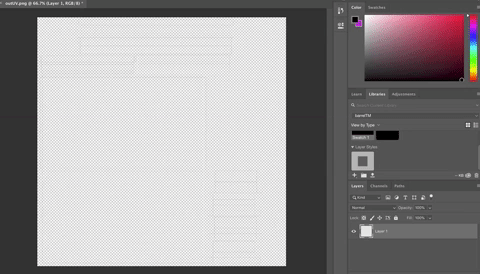
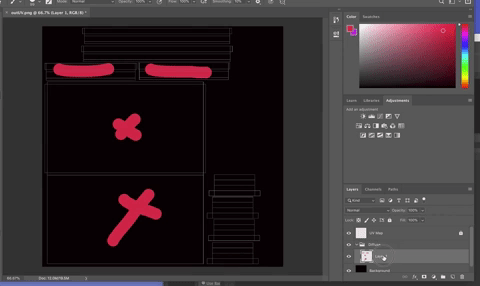
- Rename the layer
Lock it so you don't mess up the UV placement by mistake

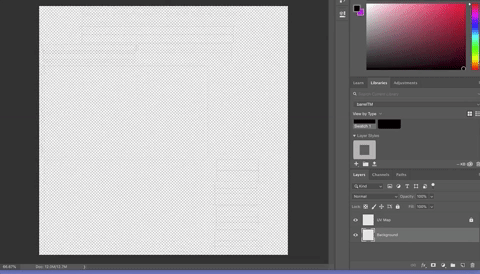
Create a new Layer
- Move it down in the Layer Editor
- Rename it to Background
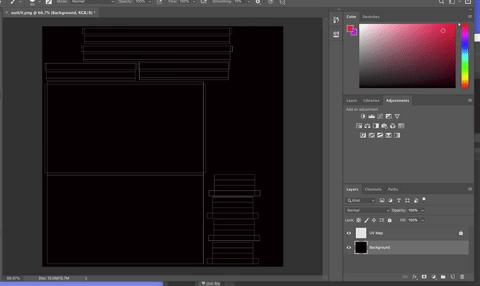
- Fill it with black (Edit>Fill)
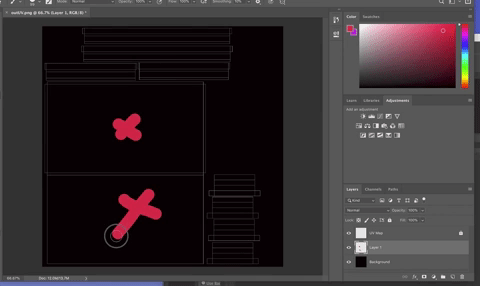
You can create a new layer and put it between the black and the UV Map. You could draw right onto that layer.
Try it:
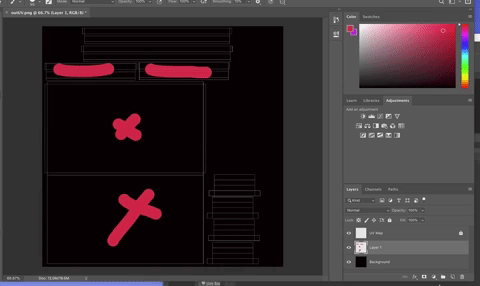
- Create A New Layer
- Pick a color and draw on certain UV shells
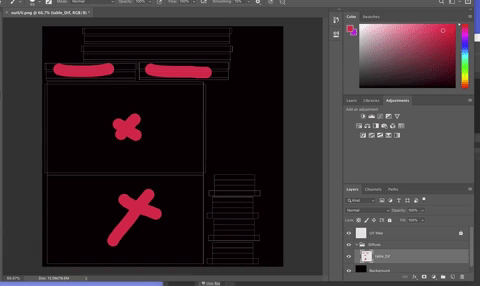
- Create a folder for your diffuse images
- Rename it DIFFUSE
- Drag the layer you just made into it
- Rename the layer
- Turn of visibility on the UV Map layer
- Go to File>Save As
- Rename the file to something like Table_Color_DIF
- Save as a JPEG or TIFF
- Make sure it is saving into your Images folder for your project
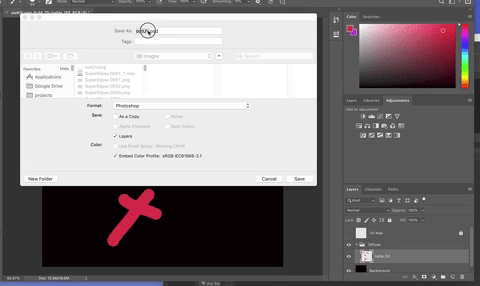
- Choose highest quality if JPEG
- Save
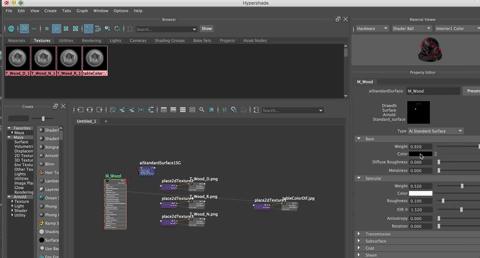
Now you can drag the file from your Images folder onto the Texture Tab 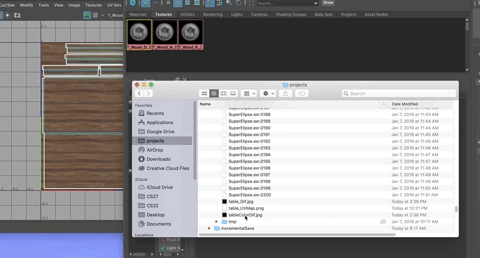
and put it into the color attribute as you normally do.
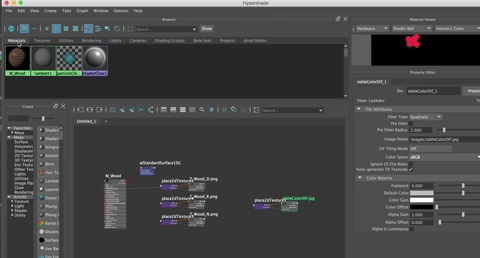
The color will show up where you expect it to on the object,without distortion.
You could also import your image file and make adjustments to that file, using the UV map to know what you are working on at any moment.
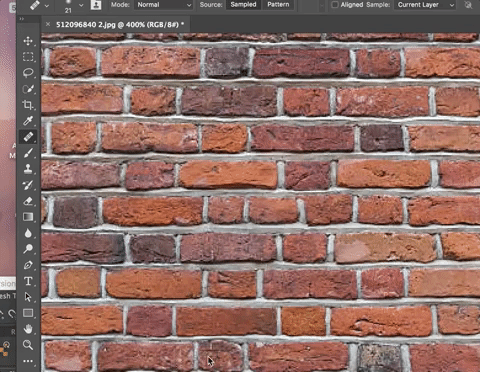
Some handy tools for cleaning up an image:
Fill with Content Aware
Use the lasso to select an area you want to remove and make it blend with the rest of the image.
Then go to Edit>Fill and Make sure it is set to Content Aware.
Photoshop will "look" around the lassoed area and fill it with an image that seems to fit.
Spot Healing Brush
The Spot Healing Brush tool removes imperfections in your photos. You paint the area you want to "fix" and Photoshop automatically samples pixels from another spot and replaces it.
Healing Brush
The Healing Brush works much like the Spot Healing brush, except you choose the pixels to be sampled by Option Clicking on them and then brushing those pixesl onto the spot you want to change
Content Aware Move Tool
The content aware move tool allows you to select some part of the image and drop it onto another part.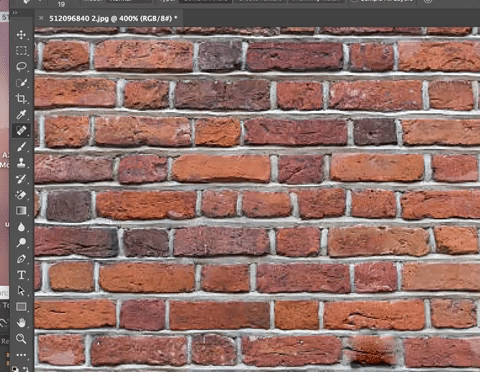
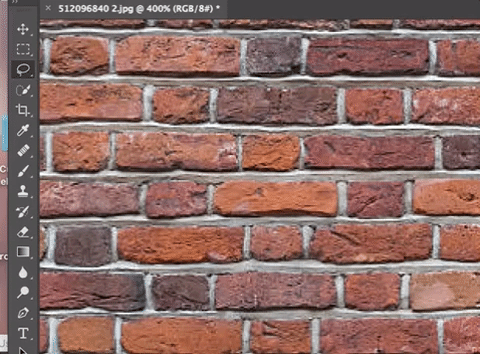
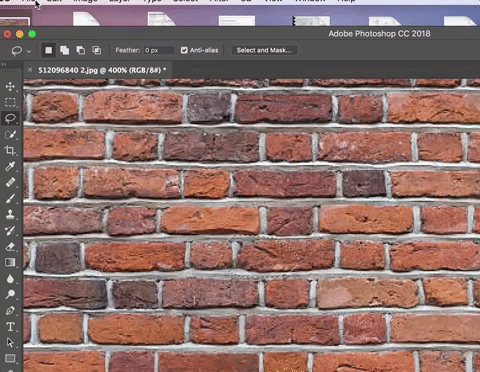
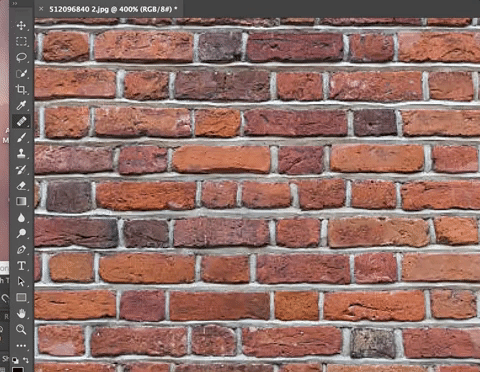
Making a Seamless Texture
There are lots of ways to create a seamless texture (one that tiles without showing a seam.
Here is a blog and tutorial I recommend for learning how to do it
http://www.designpanoply.com/blog/how-to-turn-a-photo-into-a-seamless-tileable-texture-in-photoshop
Another is to find and download a Photoshop Plug In like this:
http://www.the-orange-box.com/portfolio_page/free-seamless-texture/
The next tutorial will walk you through using the UV editor to make a UV snapshot and use that to create your textures and your various maps (transparency, displacement, specular).