nCloth Practice
CS22 Loeb
nCloth
If you have a practice project, use that. Set the project and save a scene called nCloth.
n stand for nucleus, which is a dynamics engine in Maya.
We will work in the FX module in Maya 2018. You will notice that the main menu changes to have nParticles, Fluids, nCloth, nHair, nConstraint, nCache, Fileds/Solfers, Effects, and Bifrost. Pretty cool stuff and we will just scratch the surface in this class.
Maya uses a nucleus solver (n). There are lots of particle modules built on the nucleus simulator (cloth, hair, etc). The basic components are constraints. The nclothShape node that has the physical properties of the cloth. There is also a nucleus node that is the global settings for the nucleus system---the physics of the effect.
Set Playback Speed
Before you start working with dynamics, you have to make sure your playback setting is set to Play Every Frame so that it creates the simulation correctly. This is critical. Each moment in time depends on what happened in the frame before.
You can change the playback settings by right clicking on the timeline and going into Playback speed. Choose Play Every Frame Max Real Time.
Note: You could also do this in the Preference Window. Go to Windows>Settings and Preferences>Preferences. Under Time Slider, go to Play Every Frame. Set the Max Playback Speed to Real-time (24 fps)
Scale
It is also critical that you set the scale correctly for your scene so that things look right. You need to know if you've built your scene at a 1:1 scale (using Maya settings and scaling it to match the real world) or not. We have been using 1:1 so far in this class.
In other words, regardless of what you set your units to, Maya is applying its dynamics engines assuming you are using meters. We have been using centimeters as our units so we'll need to make some adjustments later on.
Using n-cloth to create draping fabrics
n-cloth only works on polygons---quads and triangles (never n-sided polygons). Create a poly plane and scale it up. For this demo, we'll use a 1:1 scale since that is what you are most likely doing in your room scene.
Make sure working units are centimeters (Windows>Setting and Preferences>Preferences>Settings). This is the default and should not have been changed.
Build a round table
I've looked up a common round table size and found that for 4 -- 6 people it is around 1.3 m.
To represent the table, make a simple cylinder (CTRL + shift + i. Scale it to the correct size and making the Y scale appropriate, too. Add some subdivisions to smooth out the table a bit (around 30 is good)
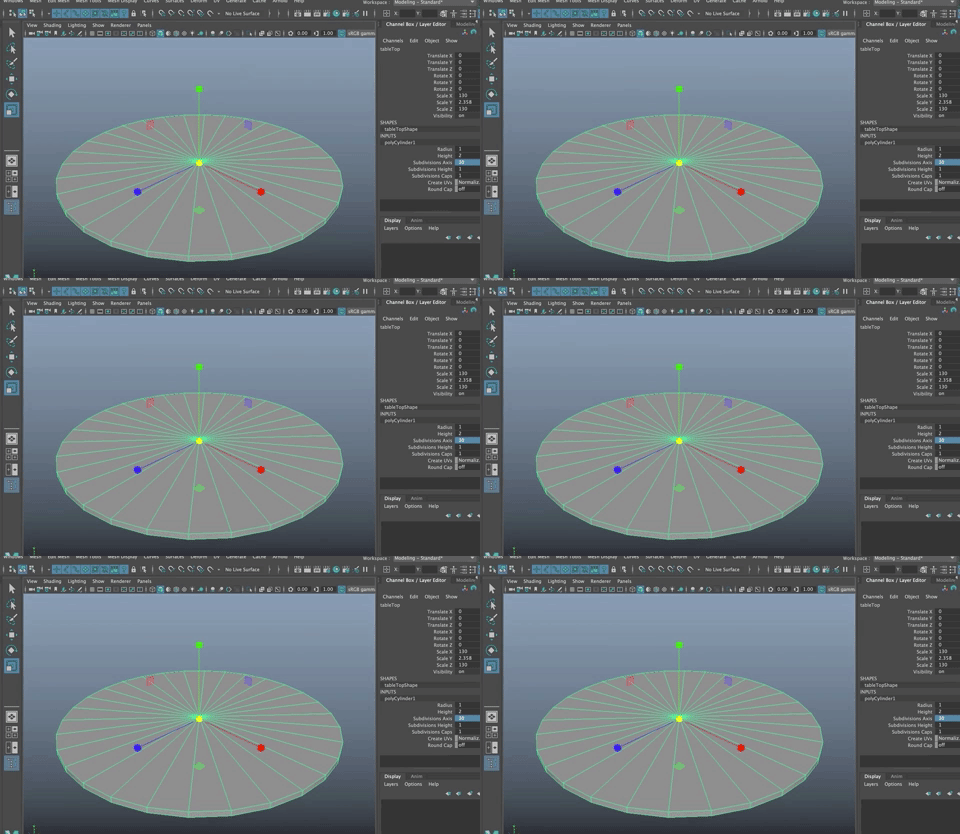
Rename your tableTop. Freeze Transformations (Opt + f) Save (Command + s)
Make a Tablecloth
Let's make a square tablecloth using a plane (CTRL + shift + p). It should be big enough to drape over the table. You want enough detail so that it flops nicely over the table. Generally, with nCloth, getting your subdivisions to be quads that are as squareas possible is the goal. Try 20 Subdivisions.
 )
)
If you don't have that, make the appropriate changes.
Rename the tableCloth Freeze Transformations Save
Move the table cloth up so it is above the table.
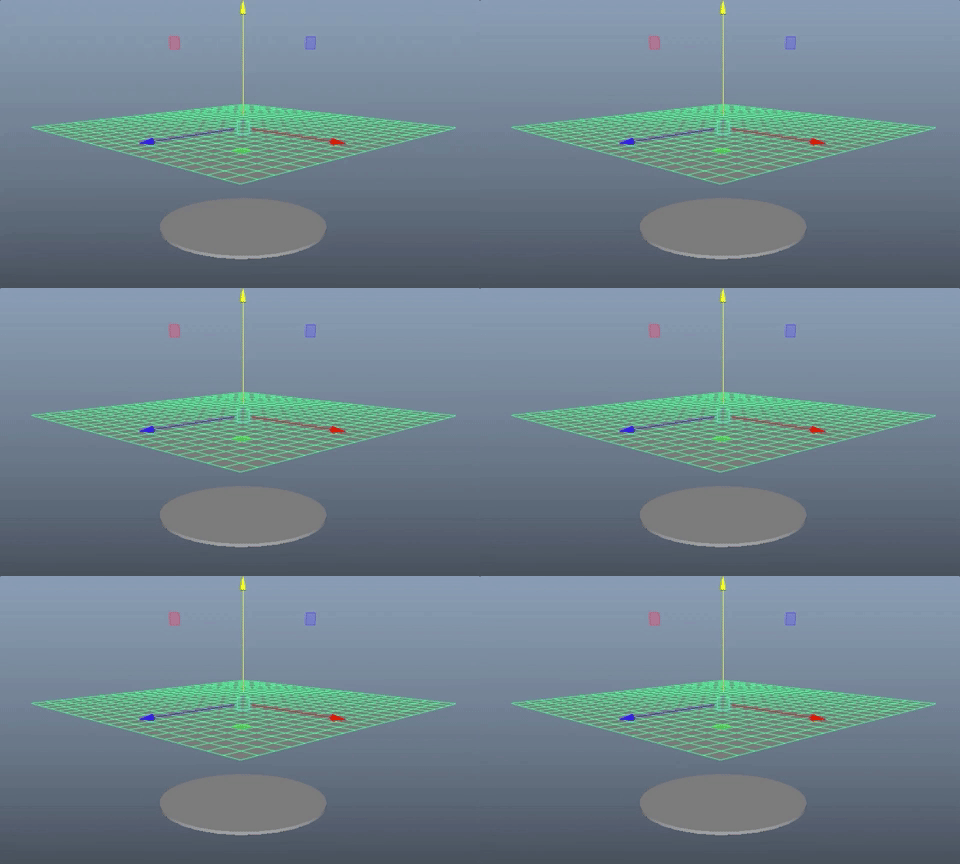
With both objects selected, Delete History. (Option + shift + d)
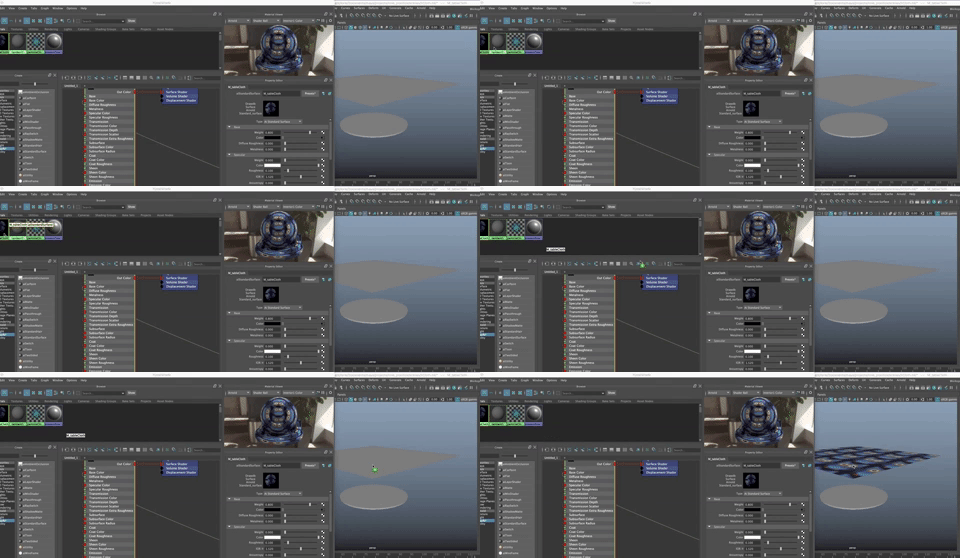
You can use the same textures we used for the pillow exercise.
- Open the HyperShade.
- LMB Drag one of the pillow textures into the Texture tab.
- Create a new material for the tableCloth.
- Set the specular down to 0.
- MMB drag and drop the texture onto the Color Channel in the Property Editor Box.
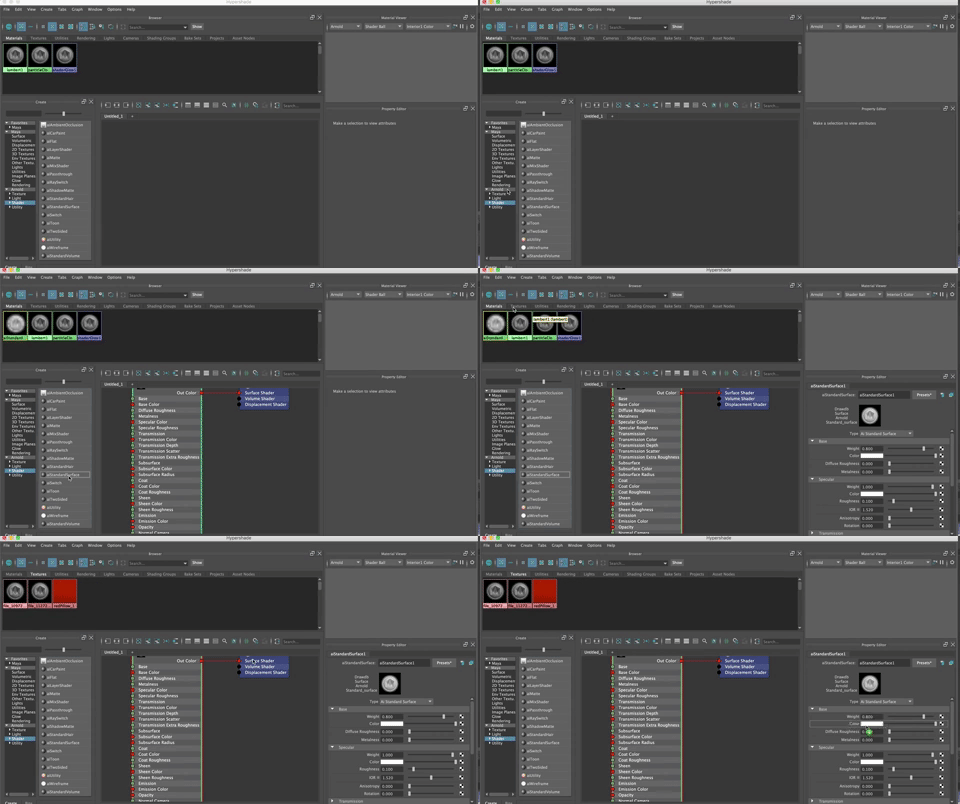
Rename the Material to M_tableCloth
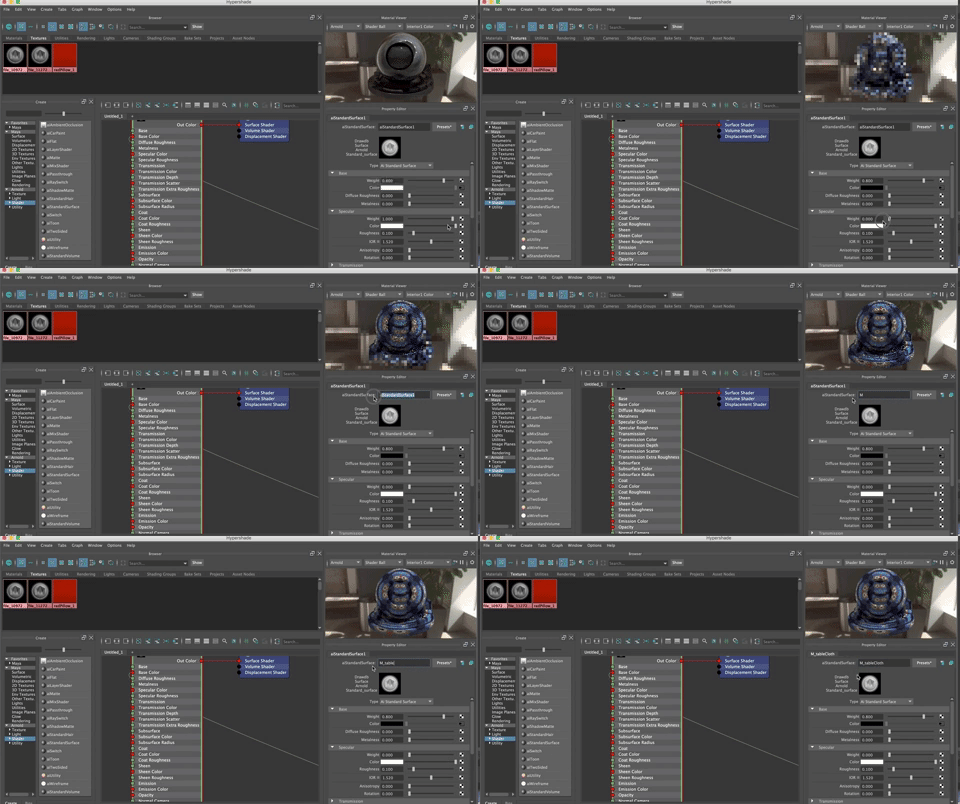
- If you built the material in the Hypershade, be sure to MMB drag and drop the M_tableCloth material onto the tableCloth object.
- Be sure your viewport is in show texture mode (Hit 6 on your keyboard)
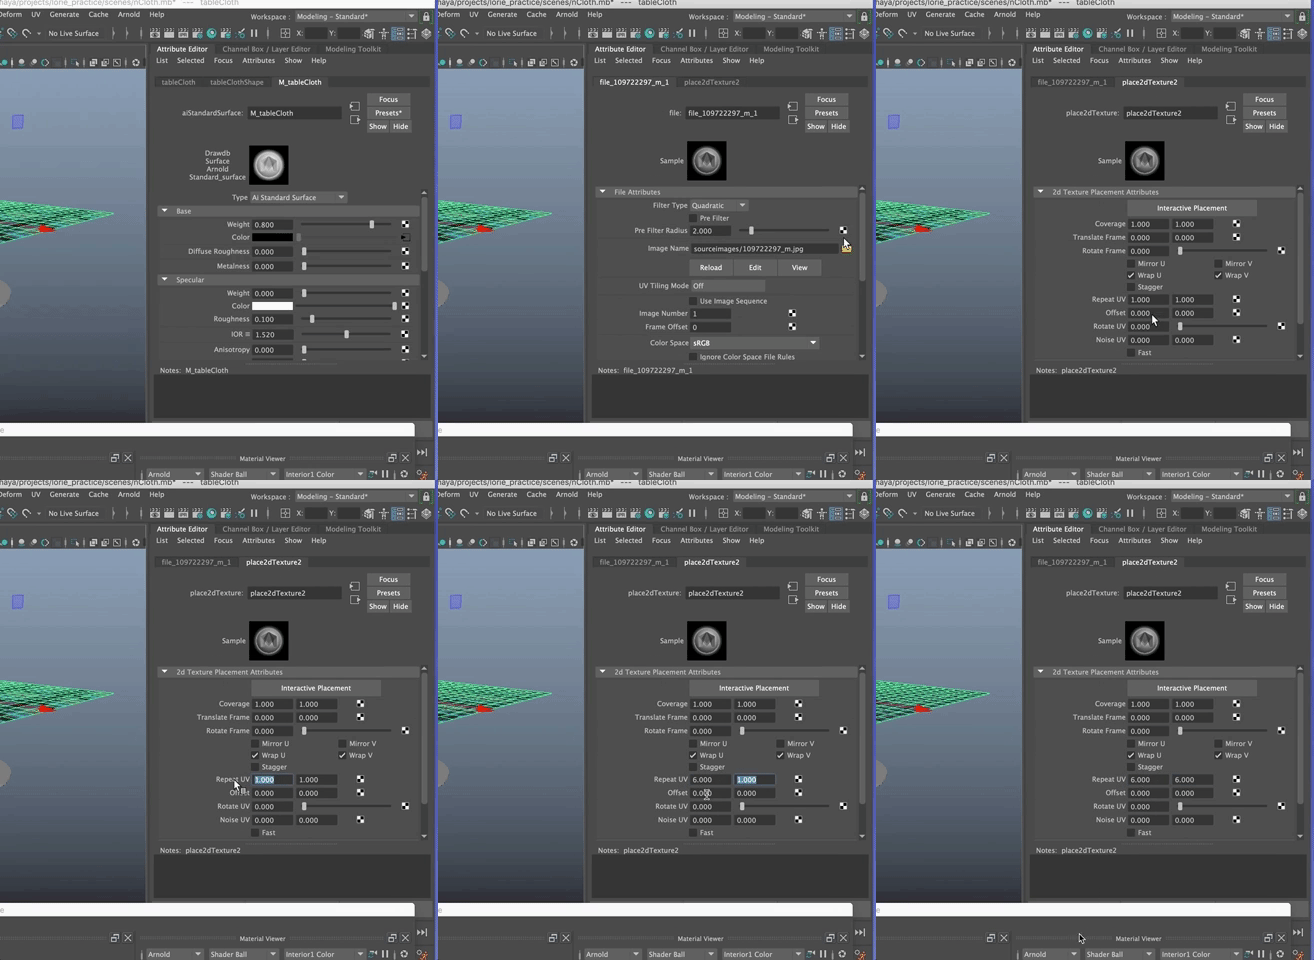
In the Place 2D texture Node (in the Hypershade or Attribute Editor), set the Repeat UV to a larger number to make the pattern look more to scale.
The dynamics engines for Maya can be found In the FX module.
The first thing is to set the tableTop to be a Passive Collider, meaning it is just sitting there acting as a solid surface that the cloth will interact with. Select the table top. Go to nCloth>Create Passive Collider.
In the Attribute Editor, an nRigid1 node tab, an nRigidShape1 tab and the nucleus1 node tab.
Next you need to set the Time Slider so that you have enough frames for the cloth to fully fall onto the table and come to a rest. You need at least four seconds, so set it to 100. Be sure you are set to Frame On.

Select the TableCloth and go to nCloth>Create nCloth>Options Box

Notice that the same nucleus1 node that appeared when you made the Table a Passive Collider is showing up here. Generally, one nucleus solver is all you need for a single simulation. If you had multiple simulations or multiple kinds of physics at play in a scene, you can start to add new solvers. Hit Create Cloth.
You'll see that nucleus1, nRigid1 and nCloth1 are now in your outliner.

If you hit the play button to the right of the TimeLine
You will see the cloth falls but very slowly. You need to reset the Timeline so there are around 250 frames and see it hit the tabletop. Way too slow! That is because the scale isn't set up as it needs to be. Maya assumes a 1:100 scale and we used a 1:1 scale.
Setting the Space Scale To Real World
Select nucleus1 in the outliner.
Open the Attribute Editor (CTRL a) In the nucleus1 node, go down to the Scale Attributes tab. Since nucleus thinks the object is 100X bigger than it is (around 130m), we need to change the Space Scale attribute value.
You need to make the scale 1/100^th^ or .01
Change the timeline back to 100 frames, rewind to frame one, and hit play. You will see the speed is much better.
Cloth Presets
Next, you need to give the cloth the correct properties. In the nClothShape1 node you will see to the right that there are Presets.
The presets are great for changing the kind of material you have. Click on Presets, choose one and hit Replace. Be sure you are back at frame 1. Hit Play
Try a few and see what happens. I recommend trying rubber sheet, and lava. You will see in the Notes box above the time line on the right a description of the material and its physical properties along with a few tips for setting the attributes (gravity damping, etc). Be sure to go back to frame one each time before hitting Play.
You will find that burlap or tshirt might be best for this. Your cloth may be sliding off the table. Let's fix that.
Select the table and open the Attribute Editor. In the RigidShape node tab, Under the Collisions Tab, you will see Bounce, Friction and Stickiness. Try turning the stickiness attribute value up to a full value of 2.
Go back to frame One and hit Play. It should stick now.
You might have added friction, too. You can add friction to both the nCloth and to the Passive Collider to make the surfaces. You will need to add friction to both, most likely. The actual friction is the sum of both the friction of the nClothShape node and the table (Passive Collider).
You can also add Stickiness to both objects (cloth and collider) to get a stickiness that is equal to the sum of both.

If you stop the animation at a frame where you like the way the fabric rests, and Delete All By Type>History, you will see that the cloth holds its shape now.
A bit more about the nucleus node:
Open the scene Nucleus1 has many values to change the dynamics and physics of the scene. You will see that Gravity is set to 9.8, which is real world gravity. You can change the direction of the gravitational pull, add wind and wind direction and wind noise to add irregularity to the wind.
The Use Plane option in Ground Plane sets the grid as a collider. You can move it down if you'd like (so it isn't on the grid). If you set the number to a low enough -- number in Y you will see the tablecloth fall off the table and land on the ground. This could be handy for your room model. The ground plane, by the way, stretches all the way to infiniti.
If you want to see this, you can undo until before you deleted the history, open an incremental save, or open the nCloth.mb file on Canvas.
Another try at it
Download the scene file and the zebra texture CouchFornClothDemo.ma from Files to Download for Class.
Put the scene file into your scenes folder for the Practice Project and the Zebra texture into the source images folder for the Practice project.
This is the couch I made. You will see there is a cloth above it.
- Set the throw so it is an nCloth
- Make the couch (all the objects, not the group) a passive collider
Make the ground plane a passive collider
Make sure you are at frame 1 and the playback range is set to at least 200 frames and Playback speed is play every frame max real time.
- Hit PLAY

- Change the throw presets.
- Make sure yoru Scale is set correctly in the nucleus node (probably should be a .01.
For fun, add a new material to the throw (a lambert is fine) And add the zebra texture file to the color attribute.
Try rendering.
You will need to adjust the gravity and stickiness on both the throw and the various passive colliders.
You will see that there are some ugly things happening here and the cloth is going through the couch in places. That is fairly common. Let's fix it.

If you go to the nucleus node Solver Attributes, you will see that the Substeps are set to 3 by default. What that means is the Maya is breaking each frame into 3 substeps or calculations. With this much motion, you get wonky results. If you step through the animation you will see what I mean.

Try changing the Substep value to 10 to create 10 calculations per frame.
It starts looking better. You may need to increase the SubStep value as high as 20 or 30.

The Max Collision Iterations, tests for collisions between the cloth and itself and the cloth and the collider. It is set to 4 by default, so it tests for collision 4 times per frame. You will notice there are still some problems in our scene.
Increase that value and see what happens. Depending on the cloth and the scene, you may need to bump that number up quite a bit, too (as high as 40, even).
The higher the substeps and iteration, the slower the playback simulation speed. Since I set the scale to .10, you can still go back to the Nucleus node and change the Space Scale to what it should be .001 and it will playback a bit faster now.
In the nClothShape node Attributes, you will see a Quality Setting. The default Max Self Collide Iterations is set to 4. Again, raising this number will make the fabric flow but not inter-collide with itself. You want to turn this up if you need to, on a per object basis.
If you find you want to add more detail to the nCloth so that it falls and drapes better, you will find that is tricky. Here is why:
You may notice that when you turn an object into an nCloth, the object is actually duplicated and replaced by an output cloth (nClothShape). That means that if you want to change the geometry on the nCloth, to smooth the geometry to add more subdivision, you won't see it reflected on the simulation because the nCloth was a copy from your original mesh. The original mesh is actually hidden.

To smooth the entire simulation, you need to select the original geometry Shape node (blanketShape) and go to Mesh>Smooth. You won't find the shape in the outliner, but you can find it in the Node Editor as shown above. Select from there.