Tutorial: Maya to Mudbox to Photoshop and back to Maya again! Texturing your character.
CS22 Loeb
Once you've laid out your UV maps for your character, it is time to add textures. You can, of course add materials as you did with the room, but here is another pipeline that lets you see how the texture image looks on your 3d model.
There are lots of approaches to texturing a model. This is a common one for production.
Before you begin be sure you have your project directories set up correctly.
You will be working with your sourceimages folder. It is a good idea to add new folders to the source images folder to help you find your files and move them between Maya, Mudbox, and Photoshop without getting totally confused or making a huge mess of files in your source images folder.
Create a folder for each of your textures, you may want a skin folder, a clothing folder, etc. You should also make a Mudbox folder. All these need to be inside your source images folder for the project you will be working in (the project for your character).
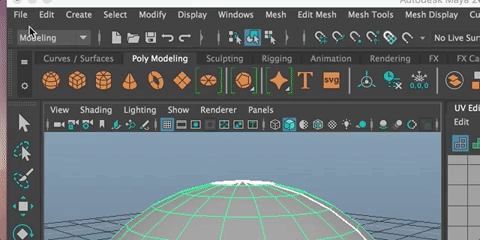
Once you have installed Mudbox 2018 on your computer, Isolate Select the faces or object you want to add a texture map onto.
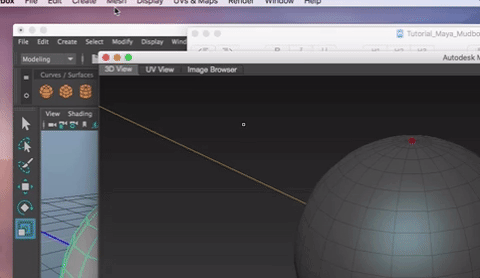
Go to File>Send to Mudbox
Mudbox will open.
Go to Mesh>Add new subdivision options And check ON
Subdivide UV's and Smooth UV's so the work you do will transfer correctly to your Maya scene.
Up the smoothness level on your scene by hitting Shift + d
You can increase and decrease the smoothness level (to add more or less detail to your file) in the Mesh menu (Step Level Up or Step Level Down).
Right click on your object and add a new Mudbox material to your object. Rename it to something descriptive of what you are working on.
Now you can paint on your object.
Rename your paint layer, and set it as shown below
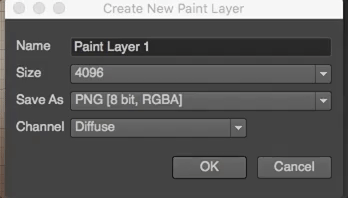
Using a png instead of a TIFF image keeps the transparency and is easier to export in Photoshop later on.
Hold the b key and drag to adjust the brush size and the m key and drag to adjust the transparency. You can also change these in the Layer Window on the right.