Tutorial 2__Laying out UV's and Joining The Character Parts
CS22 Loeb
Now that you have the pieces for your rough model, it would be a good time to begin to lay out your UV maps. You can probably imagine that the rougher the model, the easier it is to lay out the UV's.
Since most of what we'll do next is join the separate objects together, it is a good idea to spend some time understanding that a bit better.
Remember: You don't need to join everything into one object!
In fact, if something is moving separately, a robot's knee joint, a window pane that opens and closes, for example, it is better to keep them separate, with their own pivot point.
If in real life you would take off the object or unscrew the part, it is good to keep them as separate objects in Maya. For a character where the clothes form the body or the shoes are always on--these are an exception. But if your character takes his hat off, model it as a separate object and keep it separate.
Here are some methods for joining objects together. We've done some of this on the room modeling.
- Download the folder Biped Practice Files
Simple joining of objects:
You made your character out of various primitives. Now it is time to join them together. Some shapes are pretty straight forward to join.
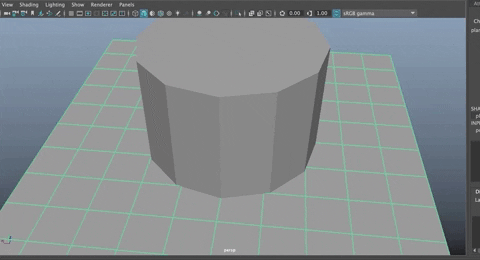
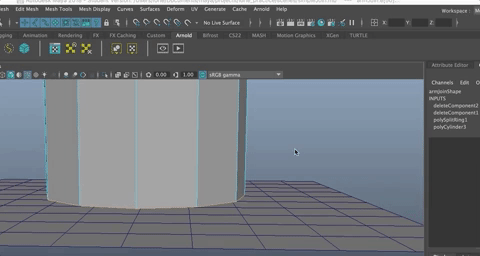
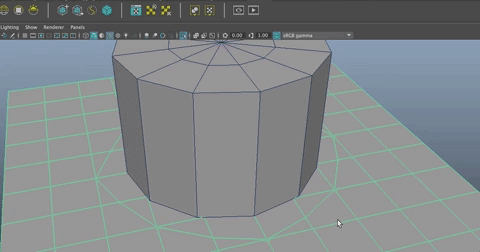
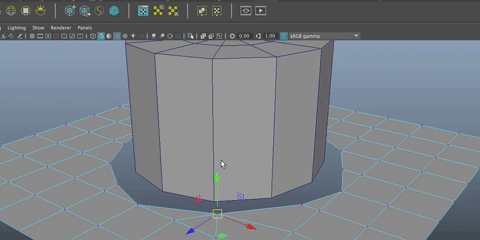
For example, open the scene in the downloaded folder called "simpleJoin.mb"
Here you will see a simple plane and cylindar. The cylindar has 12 subdivision axis and 2 subdivisions at the caps. I scaled it up.
The plane is just the Default plane with 10 X 10 subdivisions.
The goal is to join these two objects even though they have different numbers of subdivisions and different shapes (topology). We want to not only join them together, but to make them into a shape that will smooth nicely.
It seems harder than it is and is the primary technique that allows us to use the modeling method we are (making separate primitives for the model).
Now for some of you, if your character is made up of a series of separate parts (like a robot), you may or may not need to do this on your biped. But it is still really important to learn, so let's go through it!
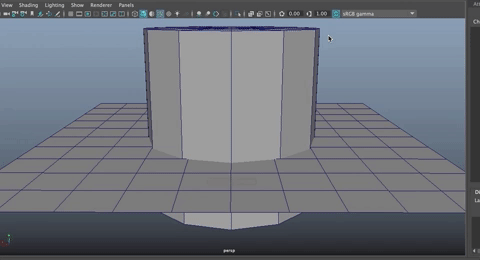
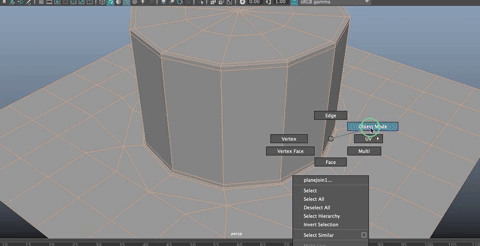
- Change your display settings to Wireframe on Shaded view to make it easier to see what you are doing.
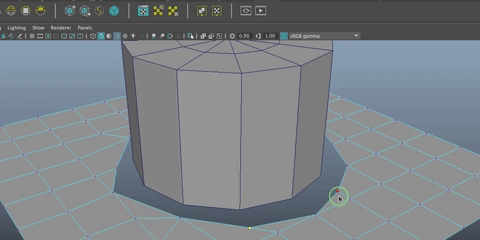
- Insert an edge loop horizontally around the cylindar, above the plane and move it down so it is near the plane. My keyboard command for Insert Edge Loop is CTRL + 3.
- Select the faces on the bottom section and delete them.
- Double click the bottom edge of the cylindar
- Use Absolute Translate to move that edge to 0 in Y
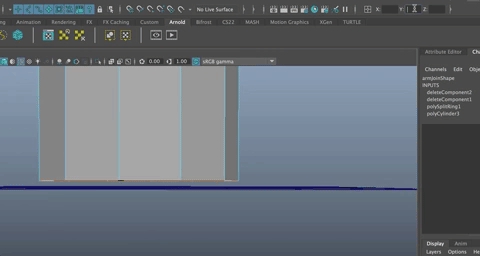
NOTE: This is a great trick for moving things to the grid in any direction!
In order to join the objects together, you need to combine two objects that don't have faces where they are being combined.
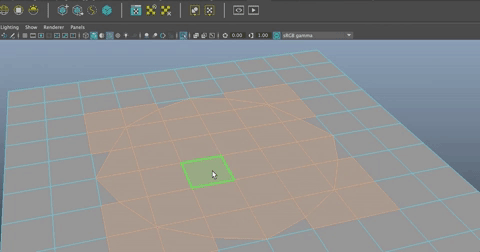
This is already true for they cylindar because we deleted the bottom edge. Now you need to create a hole in the plane.
Using the MULTI-CUT tool, start at the Y axis and cut around half the cylindar as shown.
Hit Enter
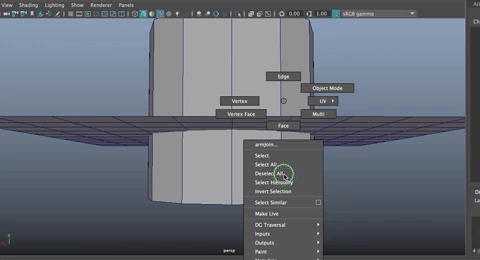
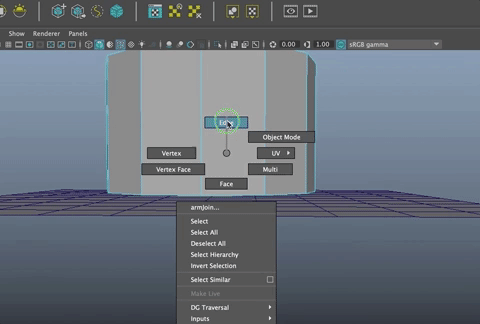
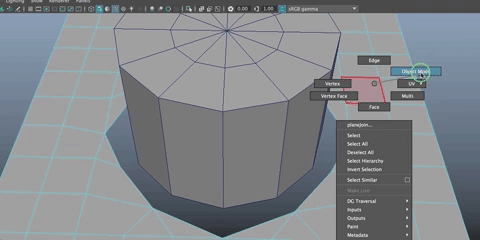
- Go into Object Mode
- Hit Shift + m or Mesh>Mirror
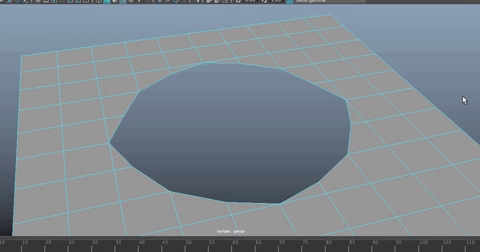
Now you have an edge that circles around the cylindar on the plane. We need to delete all the faces inside that edge.
- Select the plane
- Isolate Select (Command + 1) to hide the cylindar
- Go into face mode
- Select the inner 4 faces
- Use Shift > to increase the selection area
- Shift select or Ctrl Select the faces outside the round edge to deselect them
Delete the inner faces
Hit Command 1 to toggle off Isolate Select
Now the goal is to have quads throughout.
There are more verts around the opening on the plane than on the cylinder. This is the challenge! You have to have the same number of verts on both objects.
We know there are 12 verts on the cylinder.
Let's merge some verts on the plane! This will create some triangles on the plane, but don't worry about that right now.
Look to how you can match verts to the cylinder and merge verts on the plane where there are too many as shown. (Note: Once you've merged, you can hit "g" to repeat last command and merge more verts)
- Hit the green square by the move tool to constrain the motion of the move tool to the X and Z axis when moving verts on the plane!
- Once you get half way around, go into Object mode and Mirror (shift + m)
- If you mess up, and some verts aren't flat on the plane, you can select the vert you moved and do an Absolute Transform of 0 in Y as you did before.
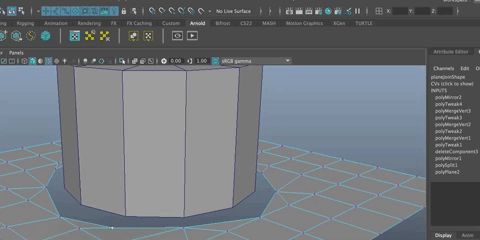
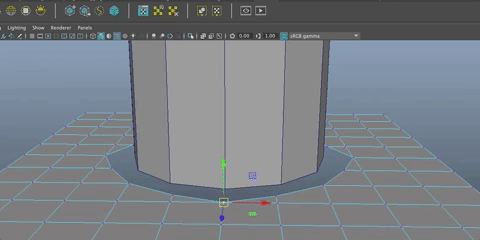
Combine the Objects
Before you can merge verts on two objects together, you have to combine them (in other words, you can't combine verts on more than one object so we need to combine them to make them one object.
- Select both objects and Combine (Option + Command + c)
- You will notice that there are three objects in your outliner, the combined object and each individual object.
- Delete History (Option + shift + d)
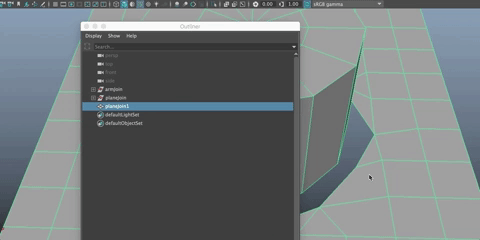
- Now we only have the one object.
- Good idea to keep your Outliner clean like this!
Bridge
Let's bridge the edges together. Here is a trick!
- Shift select two edges near each other
- Shift + RMB select and choose Bridge (Edit Mesh>Bridge)
- Double click on the edge at the side of the bridged face to select the edge all aound the opening.
- If you just bridged now, you would have one large face that was an n-gon. We don't want that
- So deselect the two edges on the edge of the bridged face (as shown)
- Hit "g" to repeat last command or simply Edit Mesh>Bridge
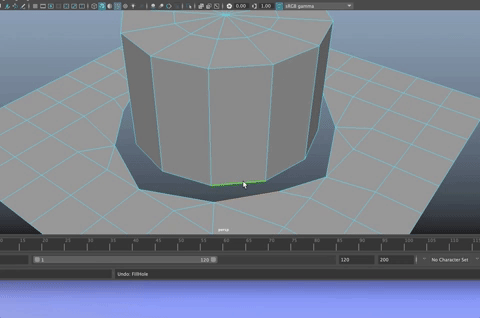
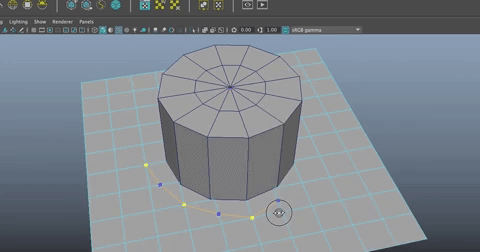
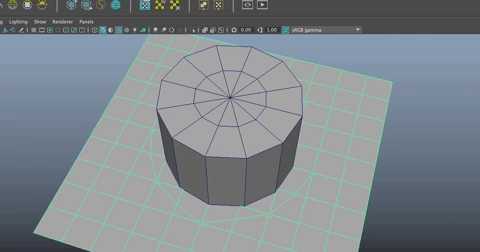
If you hit 3, you will see it all becomes rounded.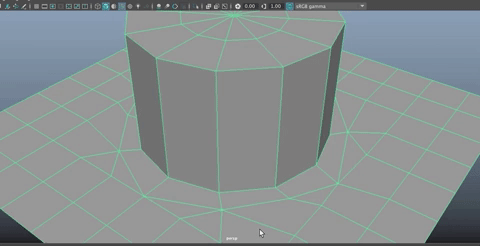
- Add edge loops. (Control 3)
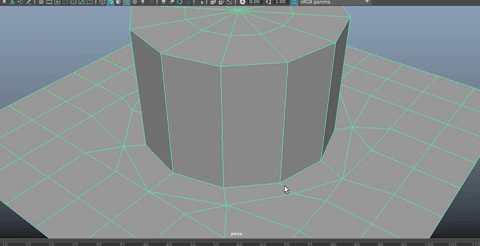
If you hit 3 it looks beautiful!
One reason this works is because I added a subdivision to the cap so that there are quads around the top and then triangles in the center.
If you don't have that, you end up with a giant n-gong at the top and won't be able to add an edge there.
To fix that, you need to extrude and then scale only to make an inner rounded edge, then do that a couple more times. You'll still have an n-gong in the center, but it won't impact anything because it will be small enough, and surrounded by a bunch of quads.
You also have some triangles on the plane. You can leave those, or you can fix them. Since they aren't in the way here, we will leave them.
Quads vs. Triangles
In general, you want to end up with quads on your model (four sided polygons that are put together to form the polygonal object. 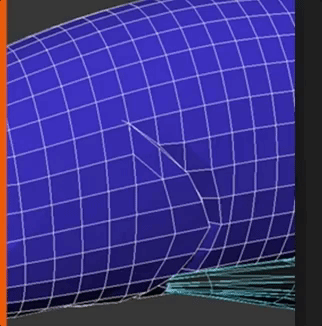
But every once in awhile, you will end up with triangles. As long as it isn't messing up the smoothness of your object, or making it so you can't insert edge loops (remember edge loops can only be inserted into quads), then you don't have to worry about it.
n-sided polys
If you have an n-gon or an n-sided polygon (a polygon with MORE THAN four sides), it is always a good idea to fix it. Use the Multi-Cut tool to divide up any n-sided polygons on your character or other objects!